How to Grow Lotus Root: A Science-Backed Guide to Cultivating Nelumbo nucifera at Home
Learn how to grow lotus root at home with this science-backed guide. Covers container setup, water depth, soil, nutrients, harvest timing, and nutritional benefits.
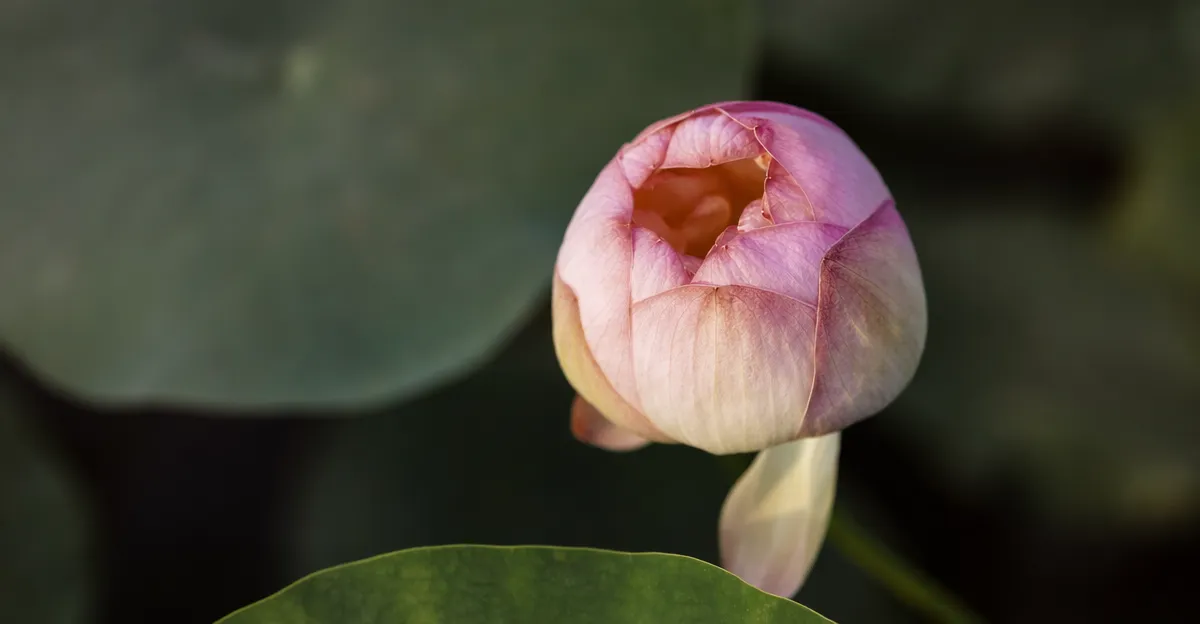
Lotus root (Nelumbo nucifera) is one of the most rewarding aquatic vegetables you can grow at home. Those distinctive sliced rounds with their lacy hole pattern are a staple across Asian cuisines, and the plant itself produces some of the most striking flowers in the gardening world. Better still, recent research shows lotus rhizomes are nutritional powerhouses packed with vitamin C, potassium, and bioactive compounds.
Whether you have a backyard pond or just a large container on a sunny patio, this guide covers everything you need to cultivate lotus root successfully, grounded in academic research and university extension recommendations.
Why Grow Lotus Root?
Lotus is a dual-purpose crop: ornamental and edible. The fragrant pink or white flowers (20 to 30 cm in diameter) bloom throughout summer, while underground, the rhizomes develop into the crunchy, mild-flavored roots prized in cooking.
Nutritional highlights per 100 g of raw lotus root:
| Nutrient | Amount |
|---|---|
| Vitamin C | 231–742 μg/g (varies by cultivar) |
| Potassium | 450 mg |
| Starch | 20–119 mg/g |
| Protein | 2.6 g |
| Dietary fiber | 3.2 g |
| Calcium | 40 mg |
| Iron | 1.07 mg |
| Phosphorus | 58 mg |
Note: Sources differ on some nutritional values. The figures above are drawn from academic analyses of specific Chinese lotus cultivars. The USDA FoodData Central reports higher values for raw lotus root per 100 g: dietary fiber 4.9 g, potassium 556 mg, and phosphorus 100 mg. Differences likely reflect cultivar variation and growing conditions.
A 2024 study evaluating six lotus cultivars found that rhizomes also contain significant levels of flavonoids (25–58 mg rutin/100 g), chlorogenic acid, and catechins, all of which contribute antioxidant activity with DPPH scavenging rates of 15–39%.
Yield potential: An established lotus plant produces roughly 4.5 to 9 kg (10–20 lbs) of edible roots annually. At field scale, Chinese cultivars yield 30–45 tonnes/ha when harvested in September.
Growing Requirements at a Glance
| Factor | Requirement |
|---|---|
| USDA zones | 4–10 (with winter protection in zones 4–5) |
| Sunlight | Full sun, minimum 6 hours/day (8+ ideal) |
| Water temperature | Above 24°C (75°F) for vigorous growth |
| Air temperature | 21–32°C (70–90°F) daytime |
| Water depth | 5–15 cm (2–6 in.) over soil for new plantings; up to 30–45 cm (12–18 in.) once established |
| Soil | Heavy clay-loam or silty clay, low organic content |
| Frost-free season | Minimum 120 days |
| pH | 5.5–7.0 (tolerates wider range) |
| Time to harvest | 120–180 days from planting |
Step 1: Choose Your Cultivar
Lotus cultivars fall into three broad categories based on their primary use:
Rhizome cultivars (for eating): These are bred for thick, starchy roots and include varieties like 'Wuzhi No. 2' and 'Baiyuzhan', which research shows produce the highest starch content and are ideal for soups and starch extraction.
Seed cultivars: Optimized for seed pod production rather than root harvest.
Ornamental cultivars: Bred for flower size and color. They produce smaller rhizomes that are still edible but less productive.
For home growers focused on root harvest, look for rhizome-type varieties or dual-purpose cultivars. Dwarf varieties like 'Momo Botan' or 'Chawan Basu' work well in containers but yield smaller roots.
Step 2: Set Up Your Container
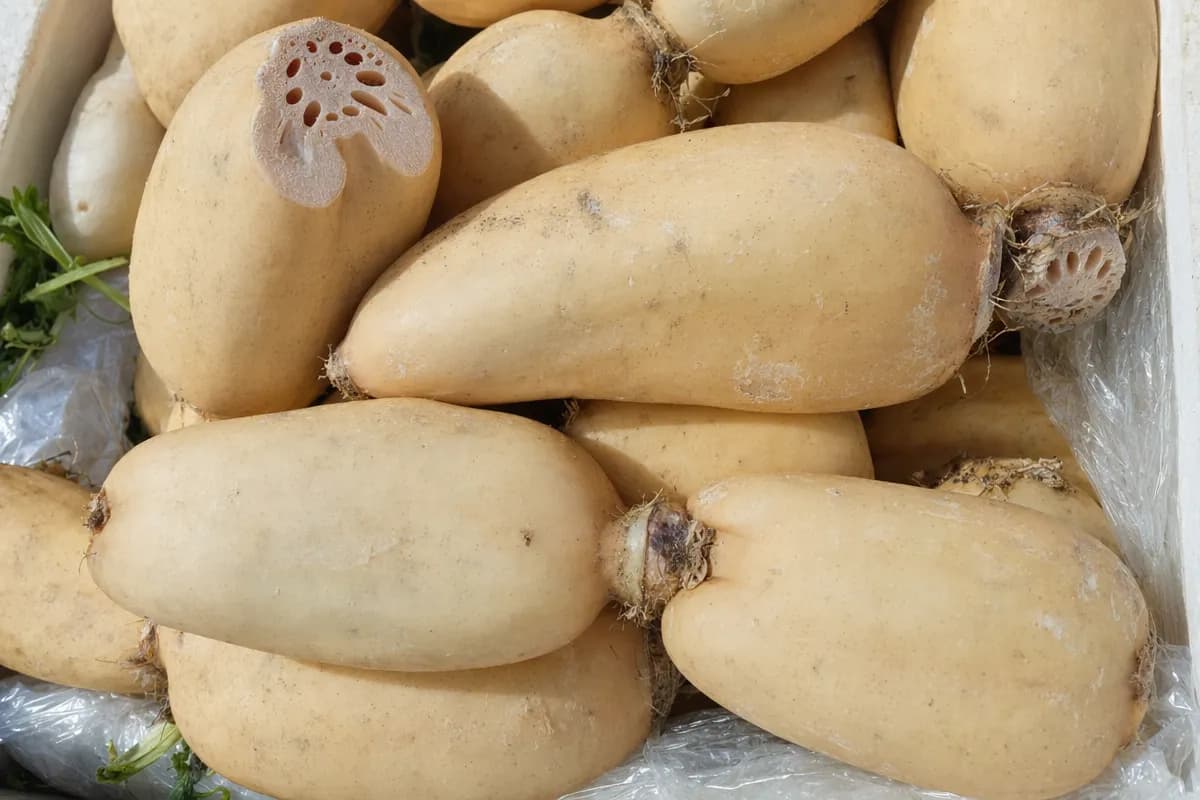
You don't need a pond. A large, watertight container works well.
Container specifications:
- Minimum 60 cm (24 in.) wide and 30 cm (12 in.) deep
- Standard cultivars perform best in 45–95 liter (12–25 gallon) containers
- Round containers are preferable since rhizomes grow in curves
- No drainage holes (this is aquatic growing)
Soil preparation:
- Use heavy garden soil, clay-loam, or a mix of clay and sand. Do not use commercial potting mix, as the perlite and peat will float.
- Mix 4 parts loamy clay soil with 1 part composted cow manure.
- Fill the container to about one-quarter depth (roughly 10 cm / 4 inches of soil).
- Saturate the soil thoroughly before planting.
Tip: The University of Florida IFAS extension recommends a mix of topsoil with aged mulch or pine bark for container production, filling to one-quarter to one-half container depth.
Step 3: Plant the Rhizome
The best time to plant is spring, after the last frost:
- Zones 4–9: May to June
- Zones 10–11: March onward
Planting process:
- Obtain a fresh lotus rhizome (tuber) with at least two intact growing tips. Handle gently — broken growing points will not sprout.
- Lay the rhizome horizontally on the soil surface near the container edge, so it can grow across the pot.
- Cover with about 10 cm (4 in.) of soil, leaving the growing tips slightly exposed or just barely covered.
- Add a thin layer (2–3 cm) of sand or fine gravel on top to keep soil from clouding the water.
- Slowly fill the container with water to 5–10 cm (2–4 in.) above the soil surface.
Important: Keep water shallow during early growth. As the plant establishes and produces standing aerial leaves, gradually increase water depth to 15–30 cm (6–12 in.).
Step 4: Provide Light and Warmth
Lotus is a sun-loving tropical plant. It needs:
- Full sun: 6 hours minimum, 8+ hours ideal. Lotus will not bloom in shade.
- Warm water: Growth stalls below 24°C (75°F). The International Waterlily and Water Gardening Society notes that lotus require temperatures of at least 24°C (75°F) for at least three months during summer.
- Still water: No fountains, bubblers, or moving water near the container. Lotus evolved in calm ponds and paddy fields.
Cold climate tip: In spring, place the container in the sunniest spot on your patio rather than sinking it in a pond. The shallower, sun-exposed water warms faster and accelerates early growth. Small submersible aquarium heaters (50–100 watts) can also speed establishment at minimal cost.
Step 5: Fertilize on Schedule
Lotus is a heavy feeder. Begin fertilizing when the first standing (aerial) leaves appear — this signals active root development.
Fertilizer protocol:
- Use a balanced aquatic plant fertilizer (20-10-20 or similar complete formula).
- Apply every 20 days during the growing season.
- For a 55-liter (15 gallon) container, use 4–8 g (1–2 teaspoons) per application.
- Use double the dosage recommended for waterlilies — lotus grows more vigorously.
- If leaves yellow between veins, supplement with chelated iron.
- Stop fertilizing in autumn to allow tubers to harden off for dormancy.
Research note: Studies on Chinese commercial cultivars confirm that lotus responds strongly to organic nutrition. Application of farmyard manure, vermicompost, or green manure significantly improves soil fertility and root yield.
Step 6: Manage Through the Season
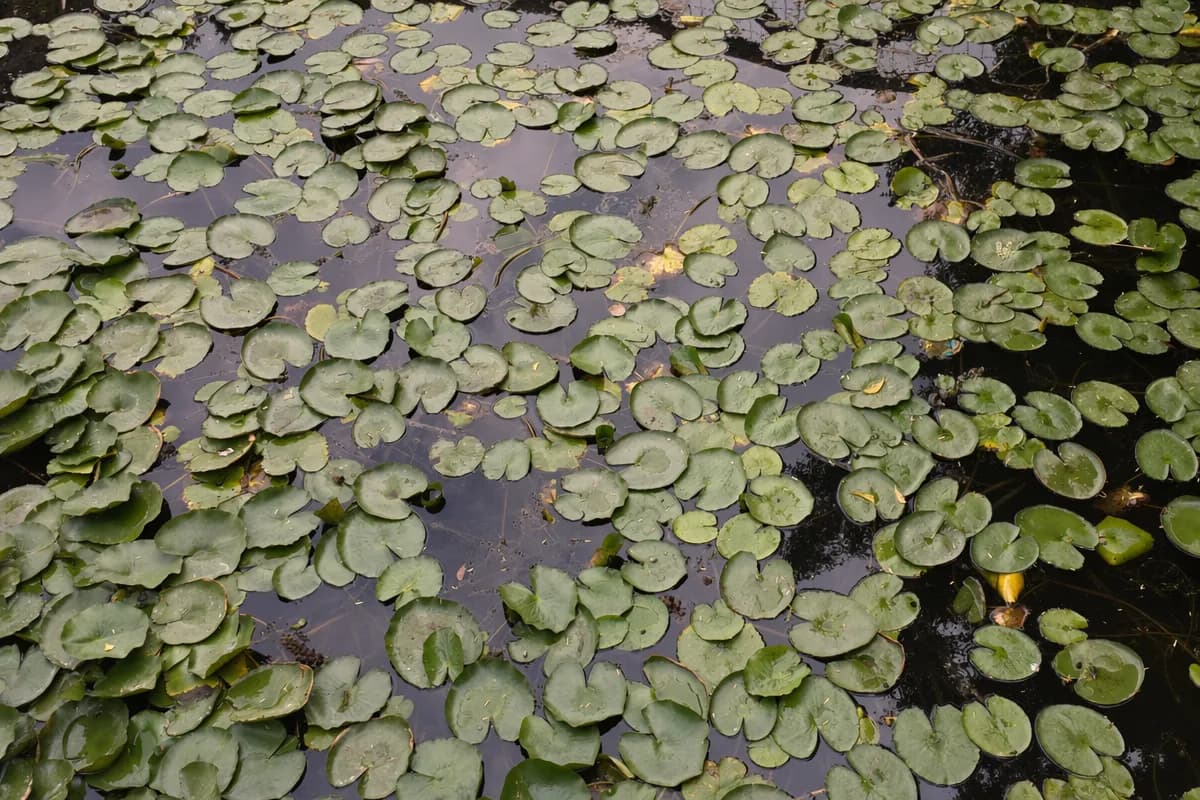
During active growth (summer):
- Maintain consistent water levels. Top off as needed — evaporation is significant in hot weather.
- Remove spent flowers and yellowing leaves.
- Watch for pests: aphids, spider mites, and China mark moth caterpillars are the most common. Use diatomaceous earth for aphids and spider mites. Apply Bt (Bacillus thuringiensis) for caterpillars. Avoid oil-based or detergent insecticides, which damage the fine hairs on lotus leaves.
- Remove floating leaves when possible, as they attract moth egg-laying.
Overwintering:
- Zones 8–10: Lotus may survive outdoors with no intervention. Keep rhizomes submerged.
- Zones 6–7: Mulch over the container or lower it below the frost line in a pond.
- Zones 4–5: Move the container to a frost-free garage or basement. The soil should stay damp but not frozen. Lotus tubers form dormant growing points that resume growth in spring.
Step 7: Harvest Your Lotus Root
Lotus root is typically ready 120–180 days after planting, depending on climate and cultivar.
When to harvest:
- Leaves begin to yellow and die back (late summer to autumn).
- Tubers feel firm and heavy, reaching 4–6 cm (1.5–2.5 in.) in diameter.
- A 2024 study found that the January–February harvest period (designated H4 in the study) achieved the highest composite nutritional quality score across six cultivars, though individual bioactive compounds like chlorogenic acid and gastrodin peaked in later harvest periods (H5, approximately February–March).
Note: Sources differ on optimal harvest timing. The 2024 PMC study on Chinese cultivars found peak composite quality at the January–February (H4) harvest, roughly 240–270 days after spring planting. However, general horticultural guidance suggests 120–180 days to harvest in warmer climates, reflecting different cultivar types and growing systems.
How to harvest:
- Drain or lower the water level.
- Carefully dig around the rhizome with your hands or a blunt tool. The roots are brittle and snap easily.
- Follow the rhizome horizontally, lifting each segment.
- Set aside smaller pieces with intact growing tips for replanting next season.
- Rinse harvested roots gently and use within a week, or store submerged in water in the refrigerator for up to two weeks.
Replanting: Divide tubers in early spring when the first leaf spikes appear. Each division needs at least one or two growing points. Replant immediately — tubers dry out quickly.
Culinary Uses and Storage
Fresh lotus root has a mild, slightly sweet flavor and a crisp texture similar to water chestnut. The characteristic hole pattern makes it visually appealing in any dish.
Common preparations:
- Stir-fried: Sliced thin, it stays crunchy. Pairs well with sesame oil and soy sauce.
- Soups and stews: Thicker slices turn starchy and tender after long simmering. Research indicates that high-starch varieties like 'Wuzhi No. 2' are best suited for this.
- Tempura: A Japanese classic. Coat slices in light batter and deep-fry.
- Pickled: Quick-pickle in rice vinegar for a refreshing side dish.
- Chips: Thinly sliced and baked or fried until crispy.
Storage tips:
- Uncut roots keep 1–2 weeks refrigerated in a damp paper towel.
- Cut lotus root oxidizes quickly (like an apple). Submerge in water with a splash of vinegar to prevent browning.
- Blanch and freeze for long-term storage (up to 6 months).
Common Problems and Solutions
| Problem | Cause | Solution |
|---|---|---|
| No flowers | Insufficient sunlight, container too small, or over-fertilizing with nitrogen | Ensure 6+ hours of direct sun; use a wider container; switch to balanced fertilizer |
| Yellow leaves (between veins) | Iron deficiency | Apply chelated iron supplement |
| Stunted growth | Water too cold or too deep for young plants | Keep water shallow (5 cm) and warm until aerial leaves appear |
| Algae bloom | Excess nutrients and sunlight in water | Reduce fertilizer; floating leaves will shade water as plant matures |
| Rhizome rot | Damaged growing tips or waterlogged organic soil | Use clay-based soil; handle tubers gently; ensure no air pockets around roots |
| Aphids on leaves | Common spring pest | Spray with water jet or apply diatomaceous earth; avoid soap sprays |
Key Takeaways
- Lotus root is a viable home-garden crop that thrives in USDA zones 4–10 with nothing more than a large container, heavy soil, still water, and full sun.
- An established plant yields 4.5–9 kg of nutritious rhizomes per year, rich in vitamin C, potassium, and antioxidant compounds.
- Plant rhizomes in spring, keep water shallow initially, fertilize every 20 days with a balanced aquatic fertilizer, and harvest when leaves begin to die back at 120–180 days.
- Even in cold climates, lotus can be overwintered in a frost-free space and replanted each spring from divided tubers.
If you're looking for an edible crop that's both beautiful and productive, lotus root deserves a place in your growing setup.