Kratky Method: Grow Food with Zero Pumps, Zero Electricity
The Kratky method is the simplest hydroponic system — no pumps, no timers, no electricity. Learn how passive hydroponics works, which crops thrive, and how to start for under $10.
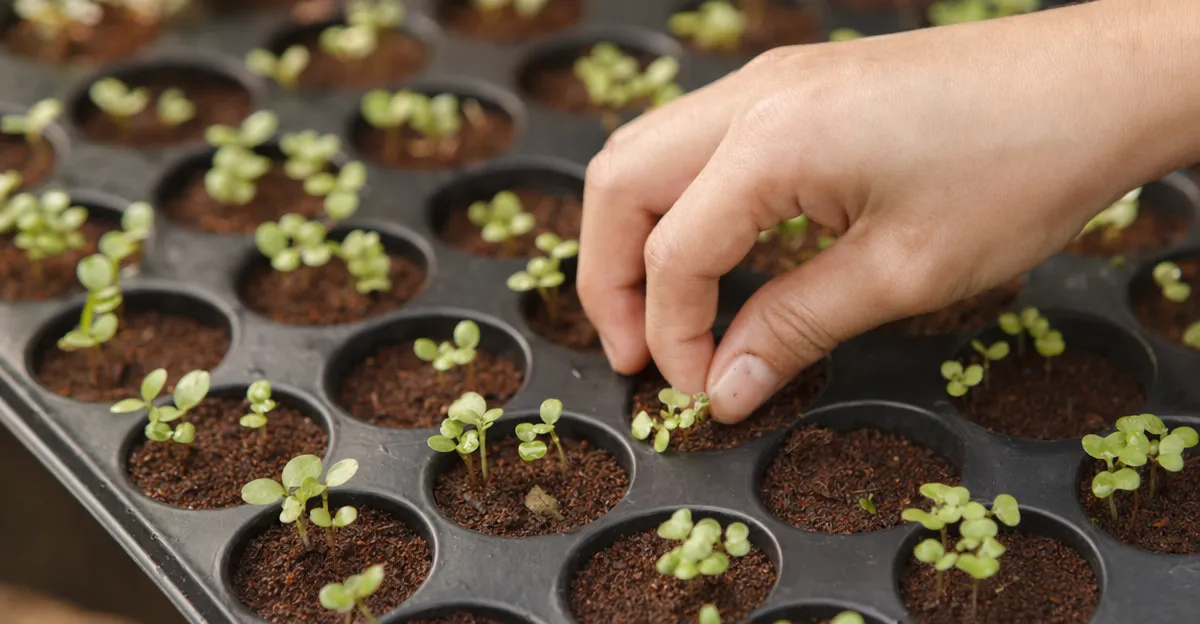
Key takeaway: The Kratky method is the simplest entry point into hydroponics. You fill a container with nutrient solution, set a plant on top, and let it grow to harvest with no pumps, no electricity, and no water changes. Developed by Dr. Bernard Kratky at the University of Hawaii, this passive technique has been validated in peer-reviewed research for lettuce, herbs, and leafy greens. Total cost to start: under $20.
What Is the Kratky Method?
The Kratky method is a non-circulating hydroponic technique where plants grow in a container of nutrient solution with no pumps, no air stones, and no electricity. As the plant drinks, the water level drops, creating an air gap that supplies oxygen to the roots. The plant essentially regulates its own environment.
Dr. Bernard A. Kratky, a researcher at the University of Hawaii's College of Tropical Agriculture and Human Resources (CTAHR), developed and published this method through a series of papers beginning in 2004. His foundational research demonstrated that lettuce could be grown to commercial quality without any aeration or circulation — overturning the assumption that hydroponic systems require active oxygenation.
The University of Florida's IFAS Extension calls it a "set it and forget it" approach, and that description is accurate: once assembled, a Kratky system needs only periodic pH checks until harvest.
How the Air Gap Works
Every Kratky system depends on one principle: the declining water level creates a moist air space where roots absorb oxygen.
Here is the sequence:
- At planting: A net pot holds the seedling in the container lid, with its base just touching the nutrient solution surface.
- Days 1–14: Roots grow downward into the solution, absorbing water and nutrients. The water level begins to drop.
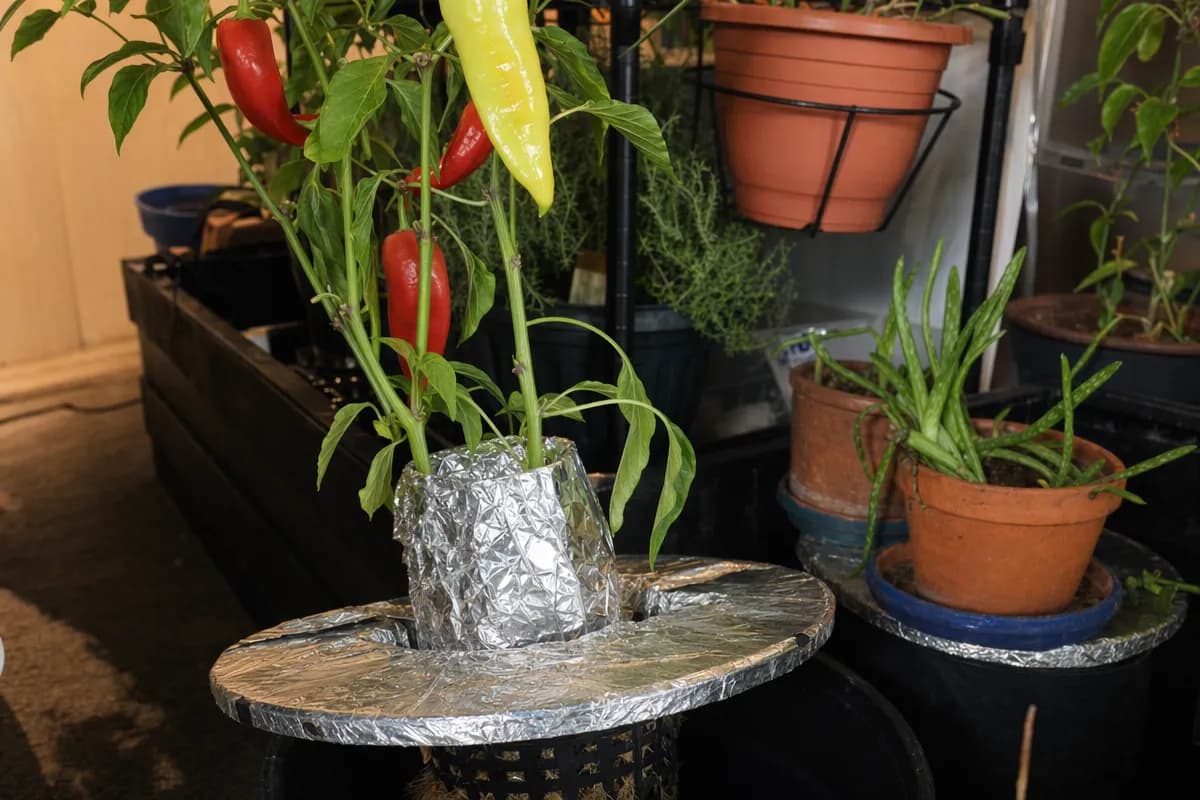
- Days 14–30: The gap between the lid and the water surface widens. Roots in this zone develop into thick, white "air roots" that absorb oxygen directly from the humid air.
- Days 30–45: The plant has two root zones — submerged roots feeding from the solution and air roots breathing above it. By harvest, the container may be nearly empty.
This is why you must never refill the container to the top once the air gap has formed. Flooding the air roots cuts off their oxygen supply and causes root rot within days.
In Deep Water Culture (DWC), an air pump and air stone continuously bubble oxygen into the solution to keep submerged roots alive. Kratky skips that hardware entirely by letting gravity do the work.
What You Need: Materials and Cost
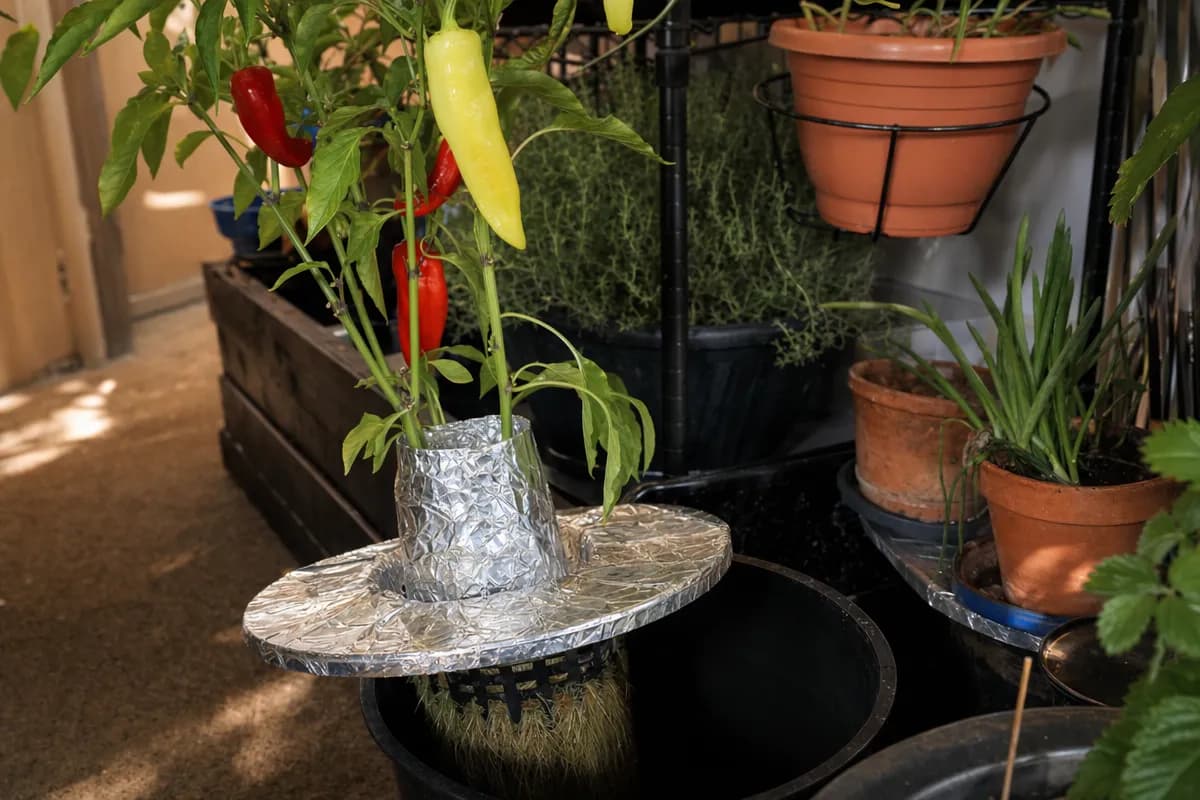
One of the method's biggest advantages is the short materials list.
| Item | Options | Cost |
|---|---|---|
| Container | Wide-mouth mason jar (1 quart / 950 mL), 5-gallon bucket, or opaque storage tote | $0–5 |
| Net pot | 2-inch for jars, 3-inch for buckets | $0.50–1 |
| Growing medium | Clay pebbles (LECA) or perlite | $5–10 |
| Hydroponic nutrients | General Hydroponics Flora Series or MasterBlend 4-18-38 | $10–15 |
| pH test kit | Liquid drop kit or digital pH meter | $8–15 |
| pH Down | Phosphoric acid pH adjuster | $5–8 |
| Seeds | Lettuce is the recommended first grow | $2–3 |
| Seed starter | Rockwool cube or grow sponge | $2–5 |
Total: $20–45. If you already have a mason jar, you can start for under $15.
The container must block light. Light hitting the nutrient solution causes algae. For mason jars, wrap the outside with aluminum foil or use an opaque sleeve. For buckets, dark-colored plastic works out of the box.
Step-by-Step: Your First Kratky Lettuce
Lettuce is the ideal first crop. It finishes in a single mason jar, tolerates beginner mistakes, and produces a visible harvest in about 5 to 7 weeks from seed. Dr. Kratky's own research focused heavily on lettuce cultivars, and the UF/IFAS Extension recommends it as the default Kratky crop.
Step 1: Prepare the Container
Cut or drill a hole in a wide-mouth mason jar lid that fits a 2-inch net pot snugly. The net pot should sit in the lid with its bottom extending about 2.5 cm (1 inch) below the lid surface. Wrap the jar completely in aluminum foil to block all light.
Step 2: Mix the Nutrient Solution
Fill the jar with room-temperature water, leaving about 2.5 cm (1 inch) of headspace. Add hydroponic nutrients at half the manufacturer's recommended concentration — seedlings need less, and the solution will concentrate as water evaporates.
The UF/IFAS Extension recommends approximately 1 teaspoon of nutrient per gallon of water for Kratky lettuce, targeting an EC of around 1,250 µS/cm (roughly 800 ppm TDS).
Research from Science in Hydroponics suggests an even lower starting point — EC 0.6–0.8 mS/cm — because the solution concentrates 4 to 5 times by the end of the growth cycle as the plant consumes water faster than nutrients.
Note: Sources differ on optimal starting EC for Kratky lettuce. UF/IFAS recommends ~1.25 mS/cm, Science in Hydroponics suggests 0.6–0.8 mS/cm to account for concentration, while a ResearchGate study on Kratky lettuce cultivars found best performance at significantly higher EC levels of 2.3–2.6 mS/cm (winter) and 2.8–3.3 mS/cm (summer). The wide variation likely reflects differences in cultivar, climate, water quality, and container size.
Mixing rules:
- Always add nutrients to water, not the reverse.
- For multi-part liquids (like Flora Series), add the Micro component first, stir, then add the rest. Mixing concentrates together directly causes nutrient lockout.
- For dry nutrients (like MasterBlend), dissolve each component separately before combining.
Step 3: Adjust pH
Test the pH of your mixed solution and adjust to 5.5–6.0. The UF/IFAS Extension specifies this range for optimal nutrient uptake in lettuce.
Add pH Down a few drops at a time, stir, wait 30 seconds, and retest. For a mason jar, 2–4 drops typically shifts the pH significantly.
Always adjust pH after adding nutrients. Nutrients change the solution's pH substantially, so adjusting first wastes your pH adjuster.
Research note: Science in Hydroponics suggests starting lettuce at pH 4.5–5.0, since pH naturally drifts upward throughout the grow cycle as plants absorb nitrate ions and release hydroxyl ions. By starting lower, the pH stays within the usable range longer without intervention. This approach works but is more aggressive than the standard 5.5–6.0 recommendation — beginners should stick with the UF/IFAS guideline.
Step 4: Plant the Seedling
Soak a small rockwool cube in pH-adjusted water (pH 5.5–6.0) for at least 30 minutes. Rockwool is naturally alkaline (around pH 8.0), and soaking brings it into range. Place 2–3 lettuce seeds on top of the damp cube, then set the cube into the net pot. Fill around it with clay pebbles to anchor everything in place.
Alternatively, transplant a seedling that already has roots. Gently rinse off any soil and nestle the stem into the growing medium so roots extend through the net pot's bottom.
Step 5: Assemble and Place
Set the net pot into the lid and place the lid on the container. The bottom of the net pot should just touch or barely dip into the nutrient solution — this wicks moisture up to the rockwool so seeds can germinate.
Place the jar in bright light:
- Windowsill: South-facing (Northern Hemisphere) with 6+ hours of direct sun.
- Grow light: 14–16 hours per day, 15–30 cm (6–12 inches) from the plant. A basic full-spectrum LED panel ($20–40) is sufficient.
Keep ambient temperature between 16–24°C (60–75°F). Lettuce grows poorly above 27°C (80°F) and may bolt prematurely.
Step 6: Monitor and Harvest
Seeds germinate in 3–7 days. After that, check the system every few days:
- pH: Test once or twice per week. Adjust back to range if it drifts above 6.5. Upward drift is normal — it is the most common issue beginners notice, and it is not a sign of failure.
- Water level: Watch it drop. This is the air gap forming. Do not refill to the top. If the level drops below one-quarter of the container before the plant is mature, add fresh nutrient solution to just below the air roots.
- Plant health: Green, upright leaves mean the system is working. Yellowing lower leaves suggest pH drift or nutrient deficiency. Brown, crispy leaf tips indicate the nutrient concentration is too high.
Harvest time: The UF/IFAS Extension reports lettuce reaches harvestable size 3–4 weeks after transplanting, or roughly 5–7 weeks from seed. Research shows 31 days to harvest in summer conditions and up to 45 days in winter. Cut the whole head at the base, or use cut-and-come-again harvesting (snip outer leaves, let the center regrow) to extend yield by 2–3 weeks.
Best Plants for Kratky
The Kratky method works best with fast-growing, short-cycle plants that finish before the nutrient solution runs out.
Recommended
| Plant | pH | EC (mS/cm) | Container Size | Days to Harvest |
|---|---|---|---|---|
| Lettuce | 5.5–6.0 | 0.8–1.3 | 1 quart (950 mL) | 35–50 |
| Basil | 5.5–6.5 | 1.0–1.6 | Half-gallon (1.9 L) | 21–28 |
| Mint | 5.5–6.0 | 1.2–1.6 | Half-gallon (1.9 L) | 21–30 |
| Cilantro | 6.0–6.5 | 1.0–1.4 | 1 quart (950 mL) | 21–35 |
| Spinach | 5.5–6.5 | 1.2–1.8 | 1 gallon (3.8 L) | 30–45 |
| Kale | 5.5–6.5 | 1.4–1.8 | 1 gallon (3.8 L) | 45–60 |
Can You Grow Tomatoes With Kratky?
Yes, but it is significantly harder. Dr. Kratky published a separate paper on non-circulating methods for tomatoes, confirming it is possible with caveats. Tomatoes consume 3.8–7.6 liters (1–2 gallons) per week at peak growth and take 60–90+ days to fruit.
If you want to try:
- Use a 5-gallon bucket minimum.
- Choose a determinate (bush) variety like Roma or Patio.
- Target pH 5.8–6.3 and EC 2.0–3.0 mS/cm.
- Expect to top off the solution regularly.
For reliable results with fruiting crops, DWC with an air pump is a better fit.
Plants to Avoid
- Root vegetables (carrots, beets) — not suited to water culture.
- Large vine crops (cucumbers, melons, squash) — water demand exceeds what passive systems sustain.
Common Problems and Fixes
| Problem | Cause | Fix |
|---|---|---|
| Algae (green slime) | Light reaching the nutrient solution | Wrap container completely in foil; seal gaps around net pot |
| Root rot (brown, mushy roots) | Water level refilled above air roots, or solution above 24°C (75°F) | Never fill above air roots; keep solution cool with opaque container |
| pH keeps climbing | Normal ion exchange as plants absorb nitrates | Check pH 1–2 times/week; add pH Down a few drops at a time |
| Yellow lower leaves | pH out of range or nutrient depletion | Check pH first (most common cause); if pH is correct, mix fresh solution |
| Crispy brown leaf tips | Nutrient concentration too high | Start at half-strength next time; dilute current solution with pH-adjusted water |
| Container empties too fast | Plant outgrowing the container, or high temperatures | Use a larger container; top off to just below air roots, never above |
Kratky vs DWC vs NFT
| Feature | Kratky | DWC | NFT |
|---|---|---|---|
| Electricity | None | Yes (air pump) | Yes (water pump) |
| Setup cost | $20–45 | $40–80 | $80–200+ |
| Maintenance | Check 2x/week | Check daily | Monitor daily |
| Best for | Leafy greens, herbs | All plants including fruiting | Leafy greens at scale |
| Failure risk | Very low (no moving parts) | Medium (pump failure) | Higher (pump failure, clogging) |
| Scalability | Limited | Moderate | High |
When to Move Beyond Kratky
Consider upgrading to DWC or another active system such as ebb and flow when:
- You want to grow fruiting plants reliably.
- You need faster growth rates (active aeration accelerates root development).
- You are scaling beyond a handful of plants.
The transition is small. You already understand nutrients, pH, and root health — the main addition is an air pump and air stone (or, for ebb and flow, a pump on a timer).
Key Takeaways
- The Kratky method is the cheapest and simplest way to start hydroponics: no pumps, no electricity, under $20 to begin.
- Developed by Dr. Bernard Kratky at the University of Hawaii and validated in peer-reviewed research for lettuce and leafy greens.
- Start with lettuce in a mason jar. Target pH 5.5–6.0, EC 0.8–1.3 mS/cm, and expect harvest in 5–7 weeks from seed.
- Never refill above the air roots — the air gap is what keeps the plant alive.
- Light-proof your container to prevent algae.
- Water use efficiency is excellent: research reports as low as 11 liters per kilogram of lettuce produced.
Ready to start? Explore our plant database for specific growing parameters, or calculate your nutrient mix for exact dosing.