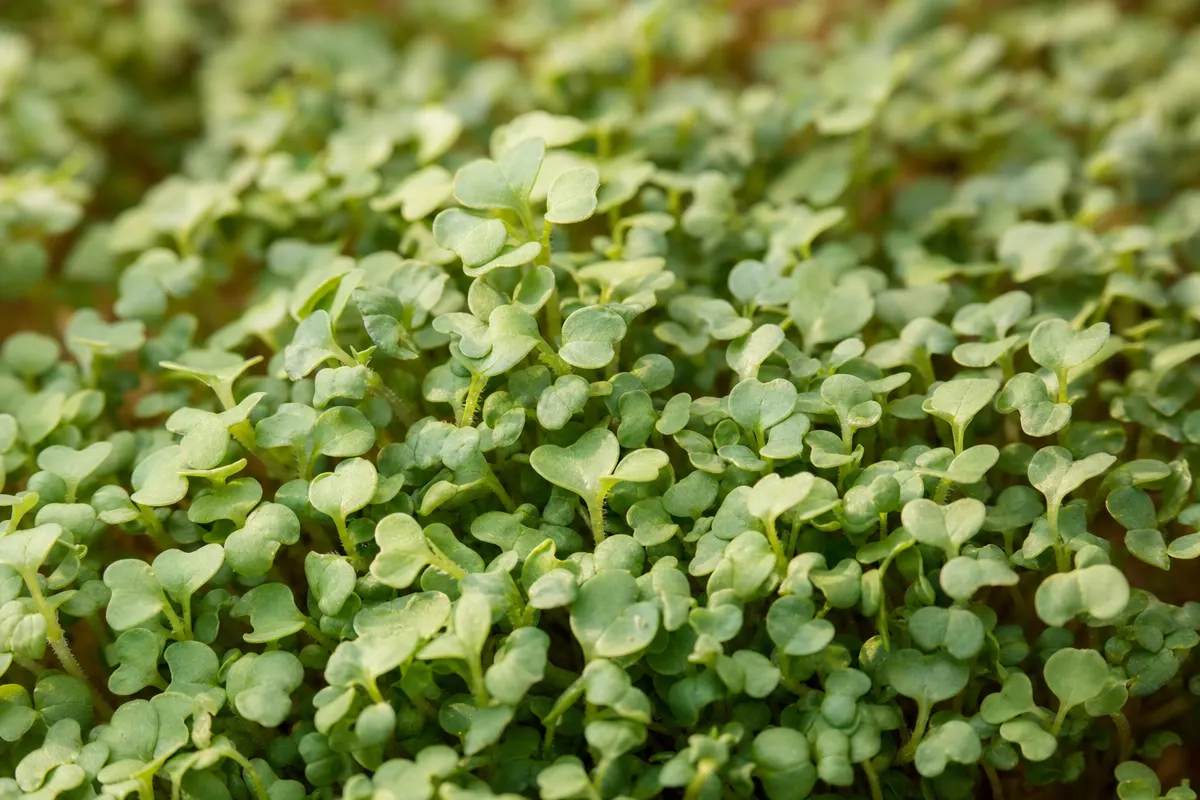
Sobre Esta Planta
Un microgreen de crecimiento rápido cosechado en la etapa de cotiledón, conocido por su sabor picante y pimentado. Es ligeramente más sensible a las condiciones ambientales que microgreens comunes como el rábano o el girasol.
Cómo Cultivar Rúcula (Microgreens)
Aprende a cultivar Rúcula (Microgreens) desde la semilla hasta la cosecha en 10 días. Dificultad Intermediate. Guía completa de nutrientes, requisitos de pH/EC y condiciones de cultivo para hidroponía, tierra e invernadero.
Respaldado por 13 citas revisadas por pares.
Requisitos de Nutrientes por Etapa de Crecimiento
Los microbrotes de rúcula no necesitan la misma concentración de fertilizante que las verduras de hoja maduras. La evidencia directa en microbrotes respalda un programa bajo a moderado para plántulas: agua durante la germinación, luego alrededor de 80-150 ppm N si se usan sustratos inertes o se mantienen las bandejas…
Inicia sesión para ver requisitos de nutrientes
Una cuenta gratuita desbloquea los objetivos de NPK de las cuatro fases de crecimiento, los niveles de micronutrientes, una calculadora de nutrientes por fase y la guía de nutrición completa. Registrarse solo lleva un clic. Truleaf es un proyecto gratuito y sin ánimo de lucro, y cada nueva cuenta nos ayuda a crecer. Sin spam, nunca.
Ambientes de Cultivo
Las estanterías de interior, las granjas verticales y los invernaderos son los entornos mejor respaldados porque permiten controlar la luz, la humedad, la higiene y las plagas. Se requiere cultivo en recipientes o bandejas…
Temperatura
Mantén los microbrotes de rúcula de frescos a moderados: 16-24 C está respaldado por guías de extensión sobre microbrotes y estudios controlados de rúcula, con unos 20-22 C como objetivo práctico de producción. El valor actual de 18 C es aceptable como ajuste en el lado fresco, pero no debe tratarse como el único óptimo, porque la Universidad de Maryland informa de una germinación rápida de Brassicaceae alrededor de 72 F y los ensayos controlados de rúcula también crecieron en condiciones más cálidas.
Humedad
Mantén la humedad relativa cerca del 60%, con un intervalo de trabajo del 50-70% solo cuando las bandejas estén ventiladas y el flujo de aire esté activo. Cubrir las bandejas puede acelerar la germinación, pero dejar las cubiertas puestas después de la emergencia mantiene las superficies húmedas y aumenta el riesgo de…
Luz
Después de la germinación, proporciona luz de moderada a intensa. El fotoperiodo existente de 16 h y el ajuste de 300 umol m-2 s-1 dan aproximadamente 17 mol m-2 d-1, un ajuste de producción alto que coincide con estudios de luz continua y de luz en rúcula, pero que es superior a algunos mínimos de extensión…
Circulación de Aire
Las bandejas densas de rúcula necesitan un movimiento de aire suave y continuo, no viento fuerte. Usa ventiladores a nivel de estantería o flujo de aire horizontal para eliminar las capas límite húmedas, desalentar enfermedades y secar las superficies foliares después del riego…
Inicia sesión para ver requisitos ambientales
Una cuenta gratuita desbloquea los valores exactos de temperatura, humedad, luz y ventilación, incluidos los rangos de germinación y crecimiento, DLI, fotoperiodo y PPFD, además de la guía de ambiente completa. Registrarse solo lleva un clic. Truleaf es un proyecto gratuito y sin ánimo de lucro, y cada nueva cuenta nos ayuda a crecer. Sin spam, nunca.
Compatibilidad con Sistemas Hidropónicos
Los sistemas de flujo y reflujo basados en bandejas o de riego por capilaridad desde abajo son la opción práctica más adecuada porque mantienen el dosel más seco que el riego por aspersión superior. NFT, balsa somera/DWC y sistemas pasivos tipo Kratky pueden funcionar cuando se adaptan a mantas o bandejas y se…
Sustratos
Utiliza sustratos sin suelo limpios y poco profundos o mantas hidropónicas. Los estudios sobre microbrotes de rúcula y las guías de extensión respaldan mezclas de turba/fibra de coco/perlita, vermiculita, lana de roca o mantas inertes similares, y mezclas para semilleros…
Contenedores
Utiliza bandejas poco profundas aptas para alimentos con drenaje. Una bandeja estándar de 10 x 20 pulgadas con unos 2.5-4 cm de sustrato húmedo es suficiente para microbrotes de rúcula, y una bandeja inferior sólida facilita el riego desde abajo…
Conducción y Soporte
No se requiere ningún guiado estructural. Los microbrotes de rúcula se cosechan antes de que los tallos sean lo bastante altos como para necesitar tutores, espalderas, poda, despunte o mallas…
Inicia sesión para ver compatibilidad de sistemas
Una cuenta gratuita desbloquea por qué cada uno de los seis sistemas funciona o no, además de sustratos, tamaños de maceta, métodos de entutorado, plantas compañeras y la guía de sistemas completa. Registrarse solo lleva un clic. Truleaf es un proyecto gratuito y sin ánimo de lucro, y cada nueva cuenta nos ayuda a crecer. Sin spam, nunca.
Propagación
Propague solo a partir de semilla. Siembre densamente las semillas de microbrotes al voleo en una bandeja poco profunda y húmeda, presiónelas para que entren en contacto con el sustrato, y cúbralas o aplique peso brevemente para retener la humedad y favorecer un enraizamiento recto…
Cosecha
Coseche como cultivo de un solo corte cuando los cotiledones estén completamente expandidos y las primeras hojas verdaderas apenas estén emergiendo, normalmente 6-15 días después de la siembra según el cultivar, la luz y la temperatura. Corte justo por encima de la línea del sustrato con tijeras limpias o un cuchillo…
Calendario de Siembra
Trate los microbrotes de rúcula como un cultivo protegido en bandeja durante todo el año, no como un trasplante estacional ni un cultivo de campo. Siembre en interior o en invernadero en cualquier mes, y programe la cosecha aproximadamente una o dos semanas después…
Problemas Comunes
Los principales riesgos son el damping-off, el moho y el ahilamiento. El damping-off aparece como plántulas colapsadas o estranguladas a la altura del sustrato y se ve favorecido por un sustrato húmedo, luz débil, siembra densa y mala higiene…
Accede a la guía completa respaldada por la ciencia
Al registrarte, ayudas a mantener Truleaf gratis y apoyas el crecimiento de nuestro proyecto sin ánimo de lucro. Tu cuenta desbloquea todos los detalles de cada problema de las plantas—incluidos síntomas, causas, soluciones paso a paso y prevención—además del calendario de siembra mes a mes, la guía completa y todas las fuentes de investigación. Solo lleva un clic. Sin spam, nunca.